March 17, 2025
Making Fun & Easy Easter Egg Nests
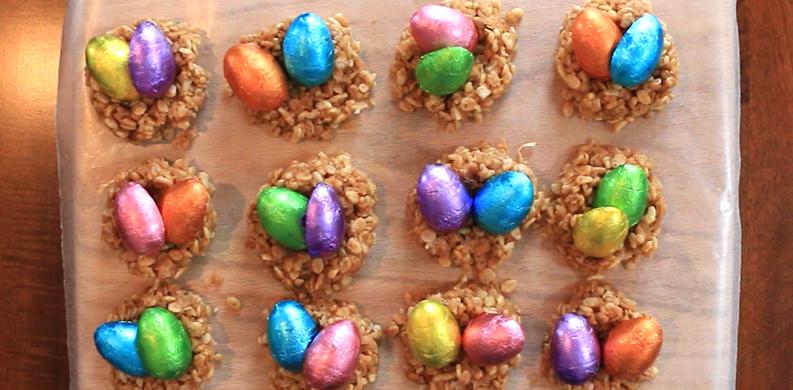
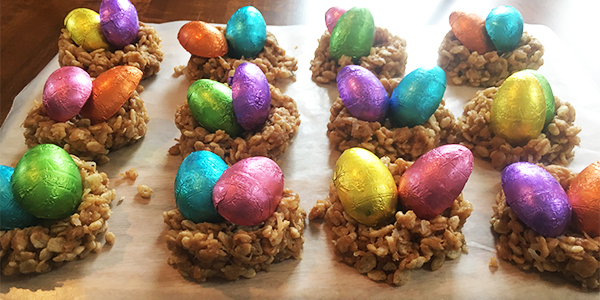
March is here and it means one thing: Easter is coming! Time to build those DIY Easter baskets and fill them with gourmet chocolate bunnies and organic chocolate carrots! It’s always fun to build excitement for the upcoming holiday with a project the entire family can enjoy. Pinterest is filled with all sorts of fun ideas, like art with paint-filled eggs, edible playdough made from peeps, or even dyeing Easter eggs with shaving cream. But, have you ever tried to decorate Easter eggs with a three-year old? Even if you manage to not make a complete mess, you end up with a huge pile of artificially colored eggs that don’t get eaten. This year, why not pick an activity that everyone will enjoy — make edible coconut Easter egg nests.
Easter is one of those difficult holidays to remember because it doesn’t fall on the same date each year. There are some years that Easter is in March and other years it can be as late as the end of April. Easter is on the first Sunday after the Paschal full moon (first full moon occurring on or after the spring equinox). So, gather the family, stock up on fresh, organic chocolate eggs, and let's get to it!
How to Make Coconut Easter Egg Nests
Ingredients:
1 cup shredded coconut
3 cups crispy rice cereal
1/3 cup light corn syrup or rice syrup
1/3 cup brown sugar
3/4 cup peanut butter
1 teaspoon vanilla
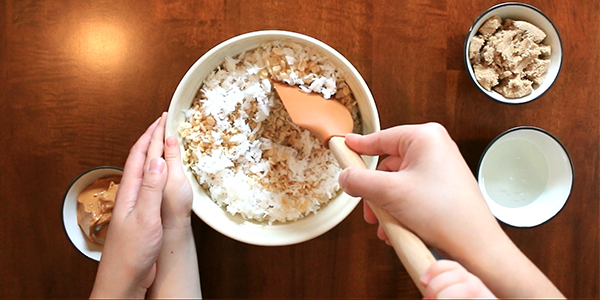
Step 1. Combine shredded coconut and crispy rice cereal in a bowl. Set aside.
Let the kids help measure and mix. This can be a fun time for them to practice counting.
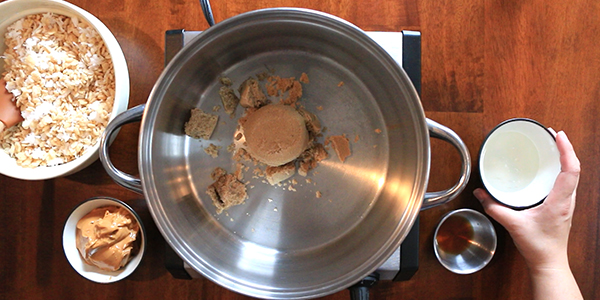
Step 2. In a medium saucepan combine corn syrup, brown sugar, peanut butter, and vanilla.
Bring it to a boil over medium-low heat, stirring constantly. Tip: Spray the measuring cup with cooking spray before adding the corn syrup. This will make it easier to pour out the sticky liquid and make clean up easier.
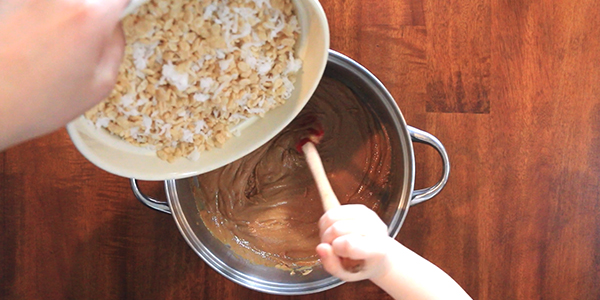
Step 3. Remove the peanut butter mixture from heat and stir in coconut/cereal mixture. Let cool.
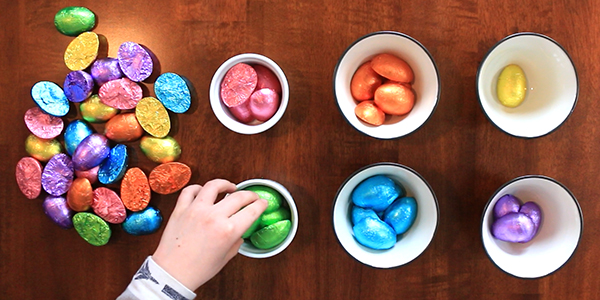
Step 4. Sort the Easter eggs by color and flavor.
Leaving the eggs in their brightly colored foil lets you know which flavor eggs are nestled inside each tasty nest. Tip: How do you remember that the purple ones are your all-time favorite peanut butter eggs? Make a color guide so that you can remember each flavor combination after you dispose of the packaging.
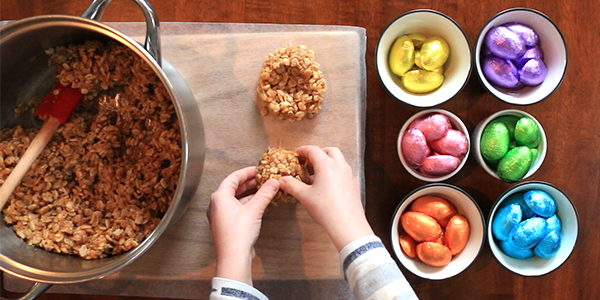
Step 5. Shape into birds' nests.
Using your thumbs, gently create the nest shape. Tip: Use a measuring scoop to portion out the mixture and create nests that are uniform in size.
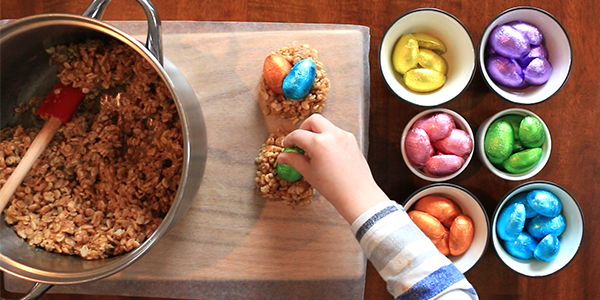
Step 6. Fill with chocolate Easter eggs.
Kid's will love getting to choose their favorite colors and flavors.
